

Integrating QuickBooks with Inventoro is a straightforward process, but you need to do it with caution and step-by-step. Bellow, we go through the process.
What needs to be done - top-level points:
- You'll need an Inventoro account - you can create a new one (free trial) here
- You'll need to log in to your QuickBooks account
Step by step guide:
Step 1: Log into your Inventoro Account
Step 2: Navigate to Integrations page by clicking on "Connect" button, or by adding a new connection in the settings bar. Or simply go directly here
Step 3: Click on QuickBooks from the Integrations list
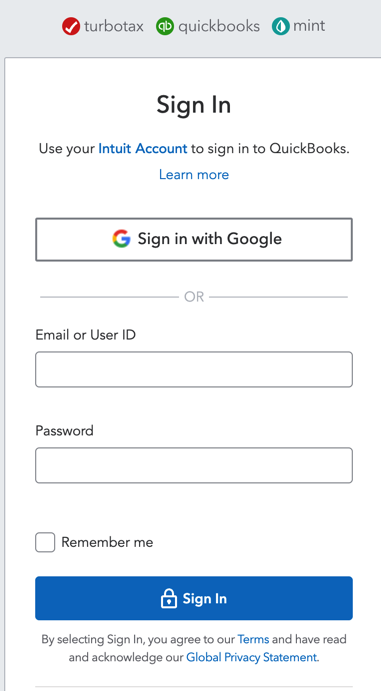
Step 4: Log in to your Intuit Account in the dialog box
Step 5: Once you log into your QuickBooks account, you will need to give permission to Inventoro to look at your data. Simply allow the access.
Step 6: Wait for the first calculation
After the connection is set up, please allow up to several hours before your data actually appears in the Inventoro app. Basically, we need to import your data and calculate sales forecasts and optimum purchase order proposals. This is a large computation operation and takes some time. Once Inventoro will be ready, you'll receive an email.
Good luck!