Transferring data from your original source is a delicate process. There are many factors that can interfere along the way and it is thus important to see if everything went well. Also, business logic needs to be applied to our system, so that we meet and act accordingly to your constraints. Both the validation and the business set up are explained in this guide. Follow these steps one by one to make your Inventoro experience perfect.
What will we cover:
Data validation
Product segmentation
Lead times
Product settings and constraints
Bundles
Step #1: Data validation
The first and probably most important step to setting up Inventoro is to validate your data. The general rule in data is: Garbage in, Garbage out 🙂 In other words, the better quality data we get, the better results we bring, so please take good care of the validation.
There are several things that need to be validated and we will go step-by-step with each one:
Historical sales data check
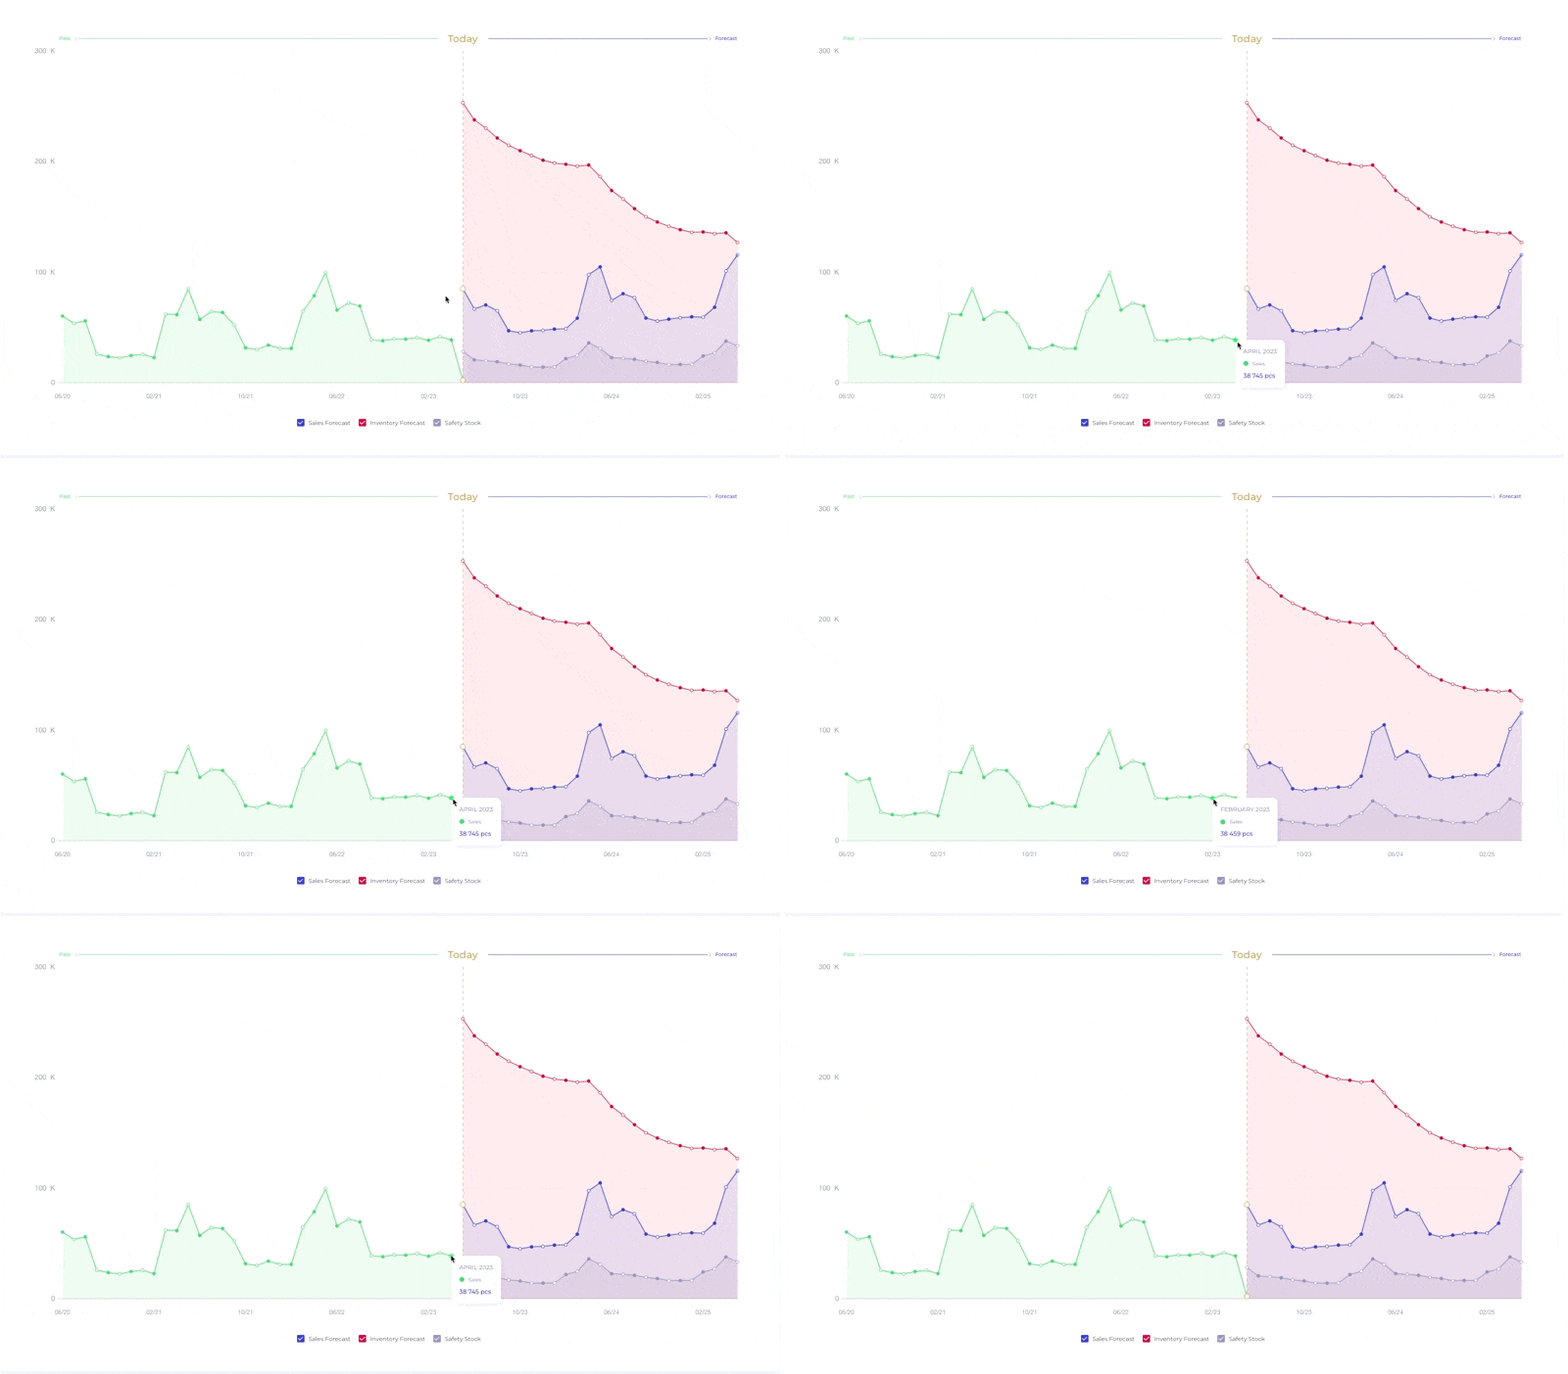
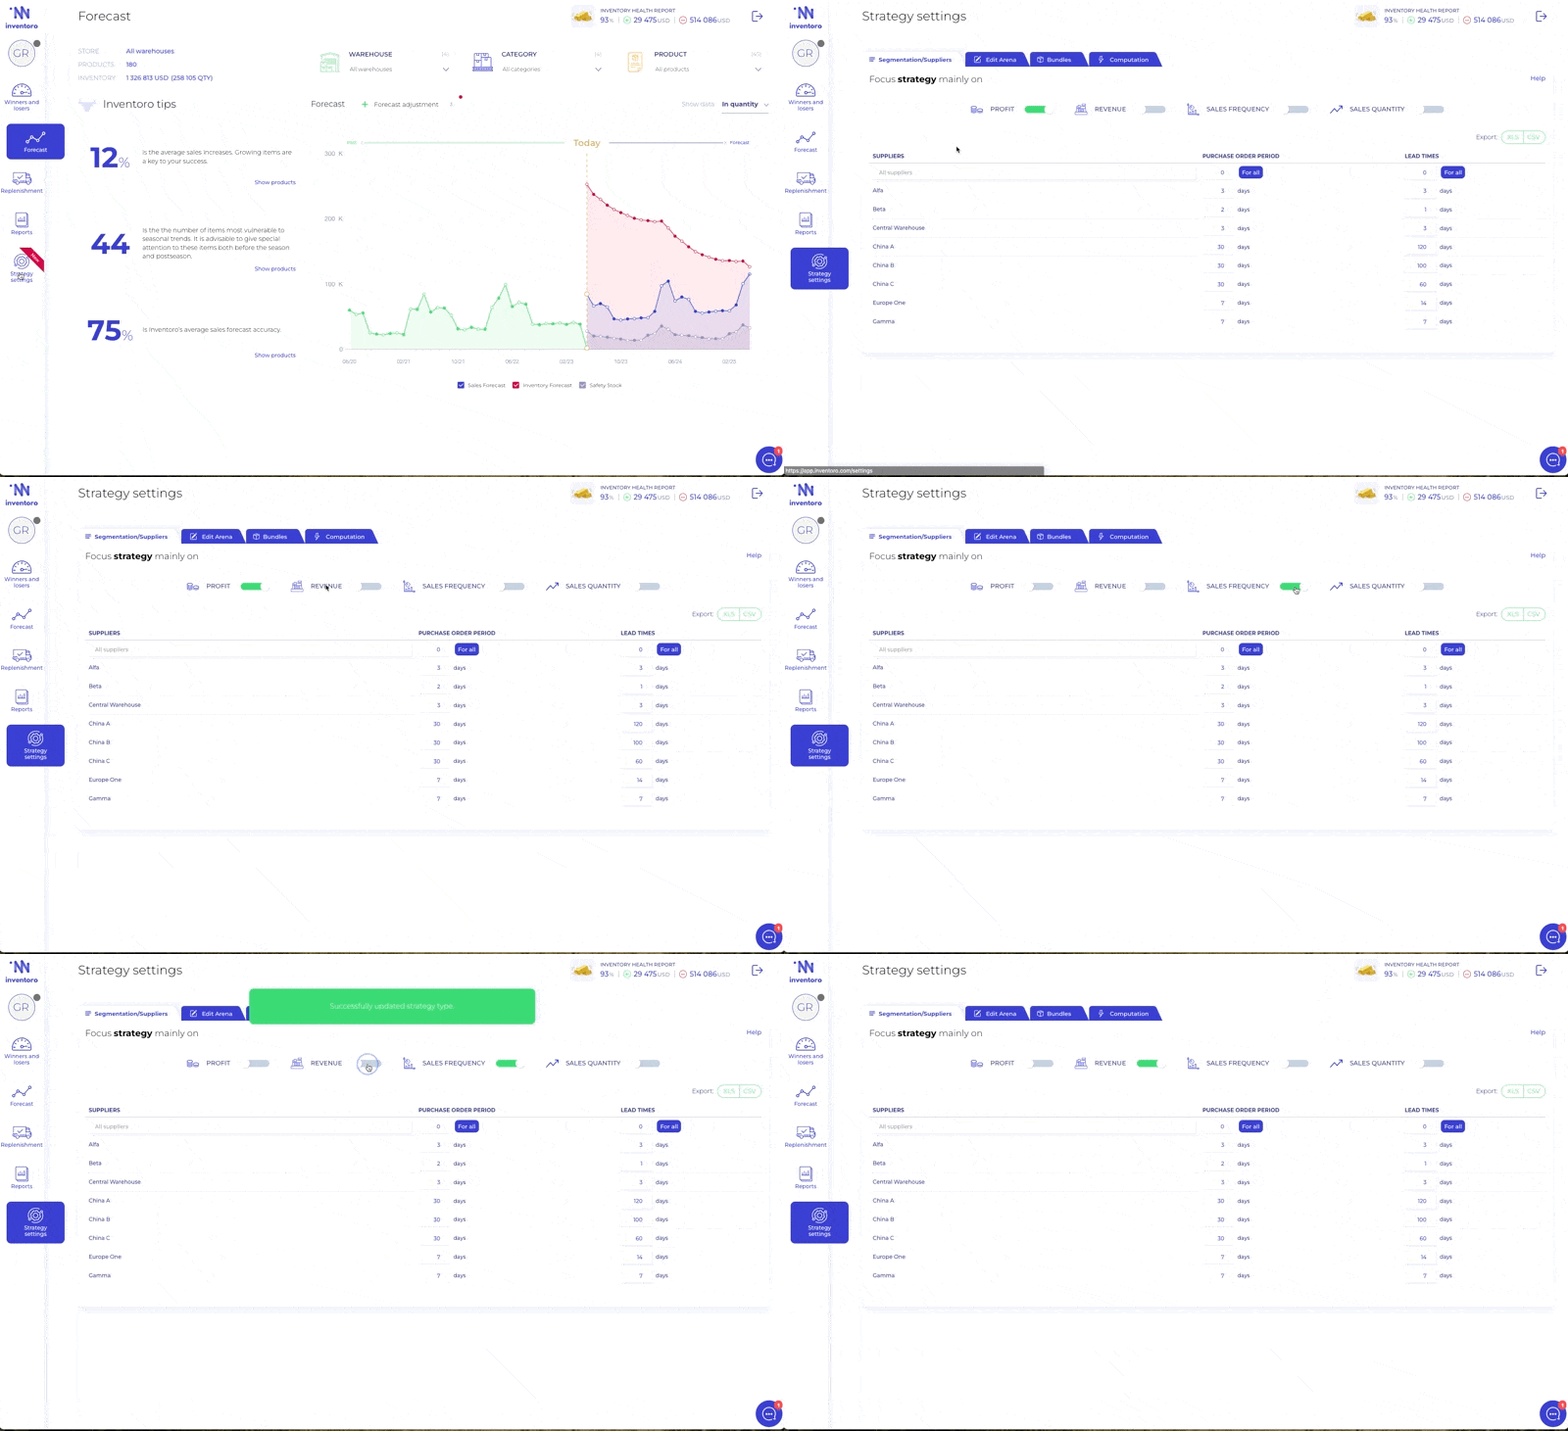
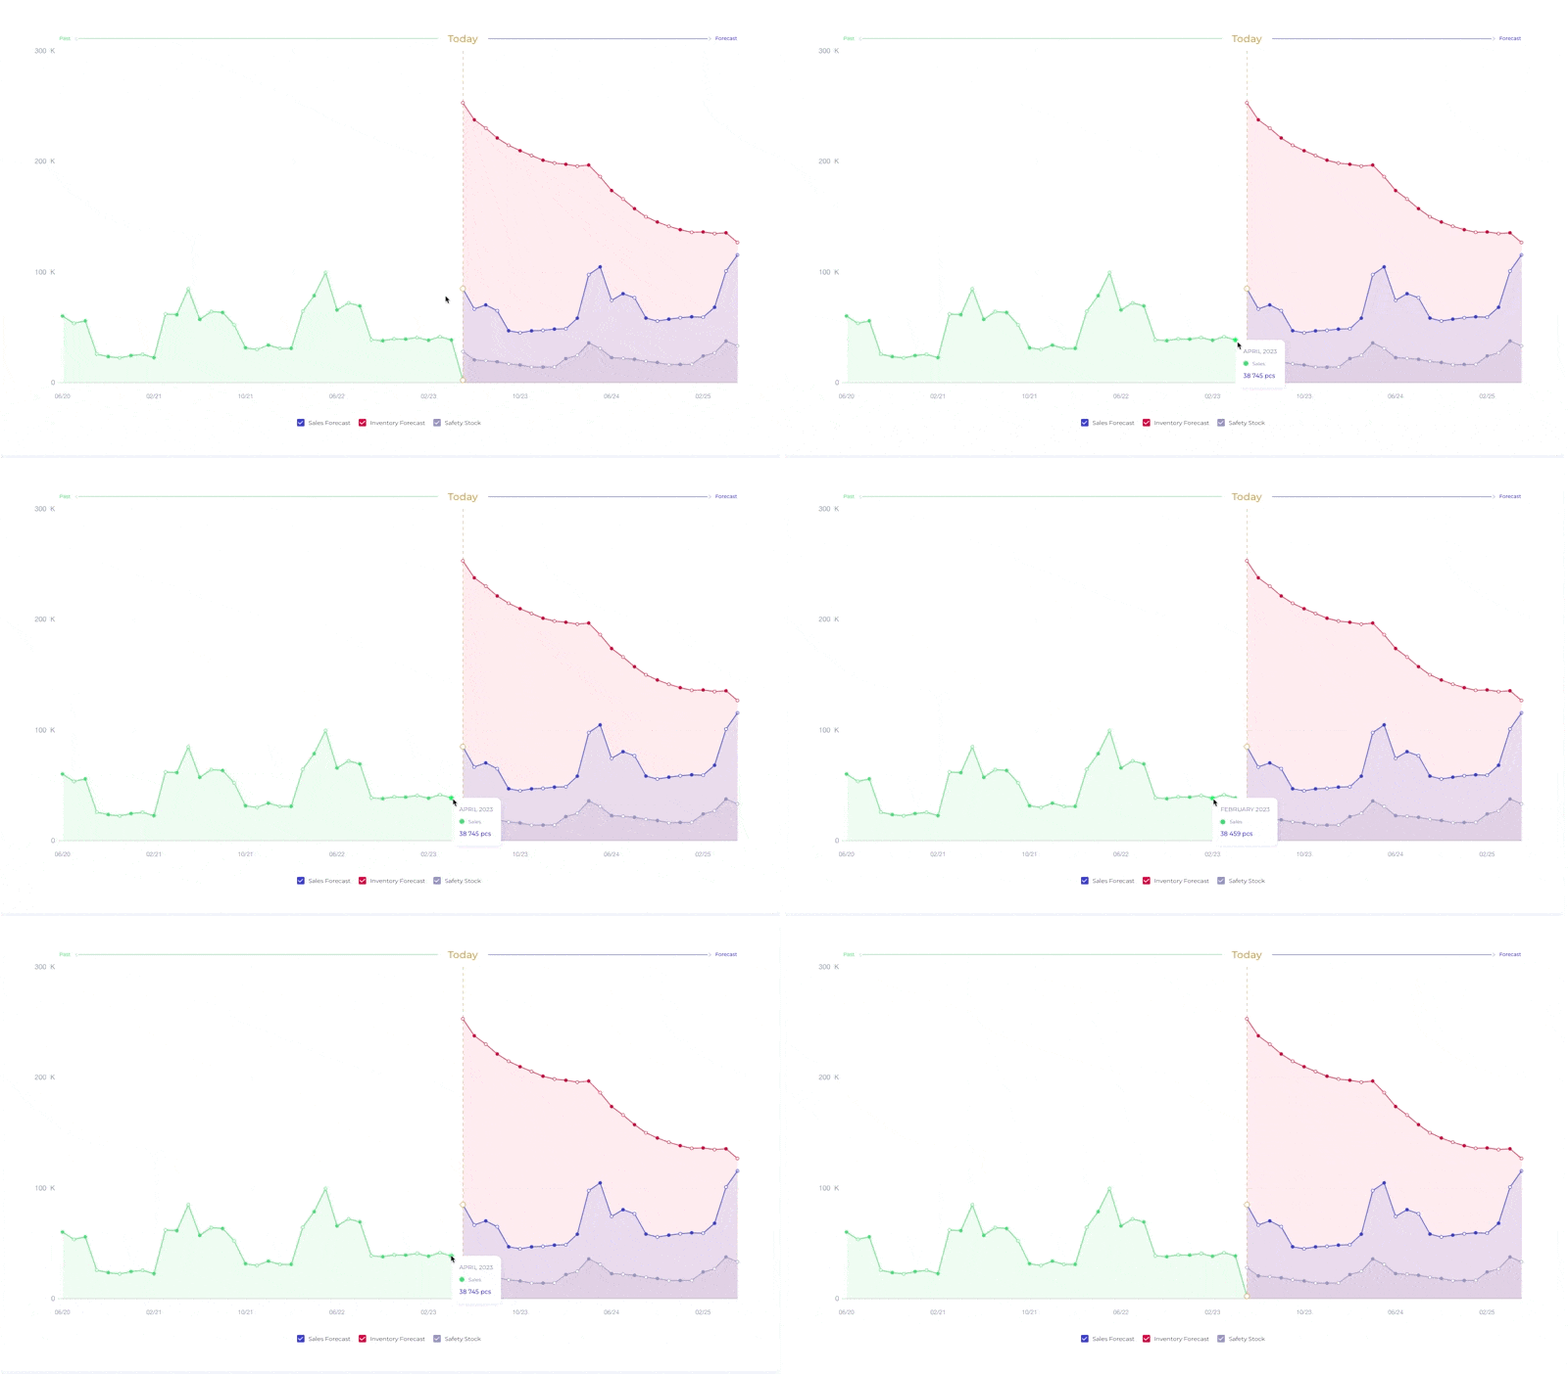
This step is pretty quick. Just click on the Forecast in the left menu and then check if your sales history for the last couple of months is consistent with your primary connected system. Just mouse-over on each spot in the graph to see the values. (See the gif below).
There can be a small difference which is caused by the logic of how we import your historical data. For example, we work with order dates and not shipment dates and sometimes this can produce sales in a different month, leading to minor differences in data.
The second example is that we always take Net sales without Tax. Taxes are excluded from sale prices and also from purchase prices.
These two factors can result in small differences with your actual sales and should not be concerning, for the validation. But if the difference is vast, we need to discover why. Let us know if something is not right.
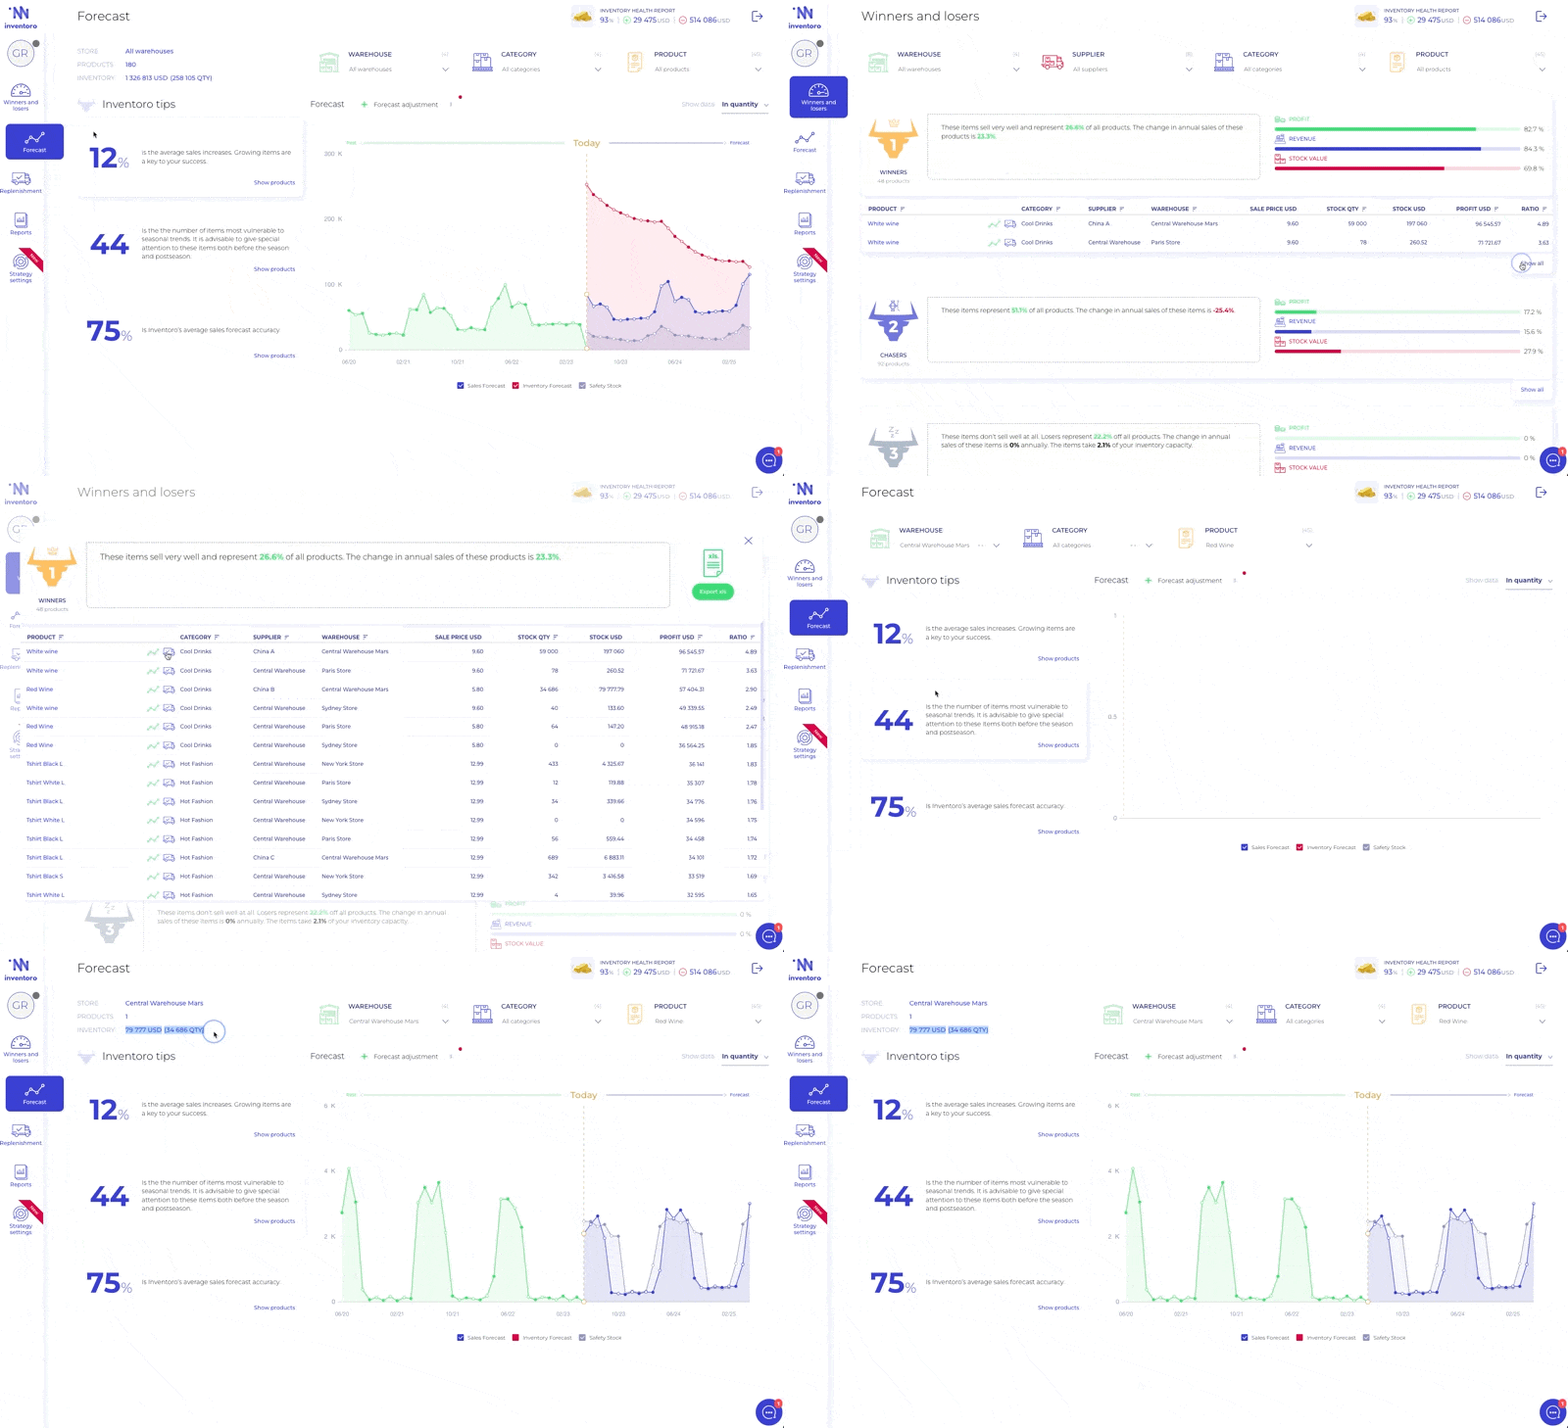
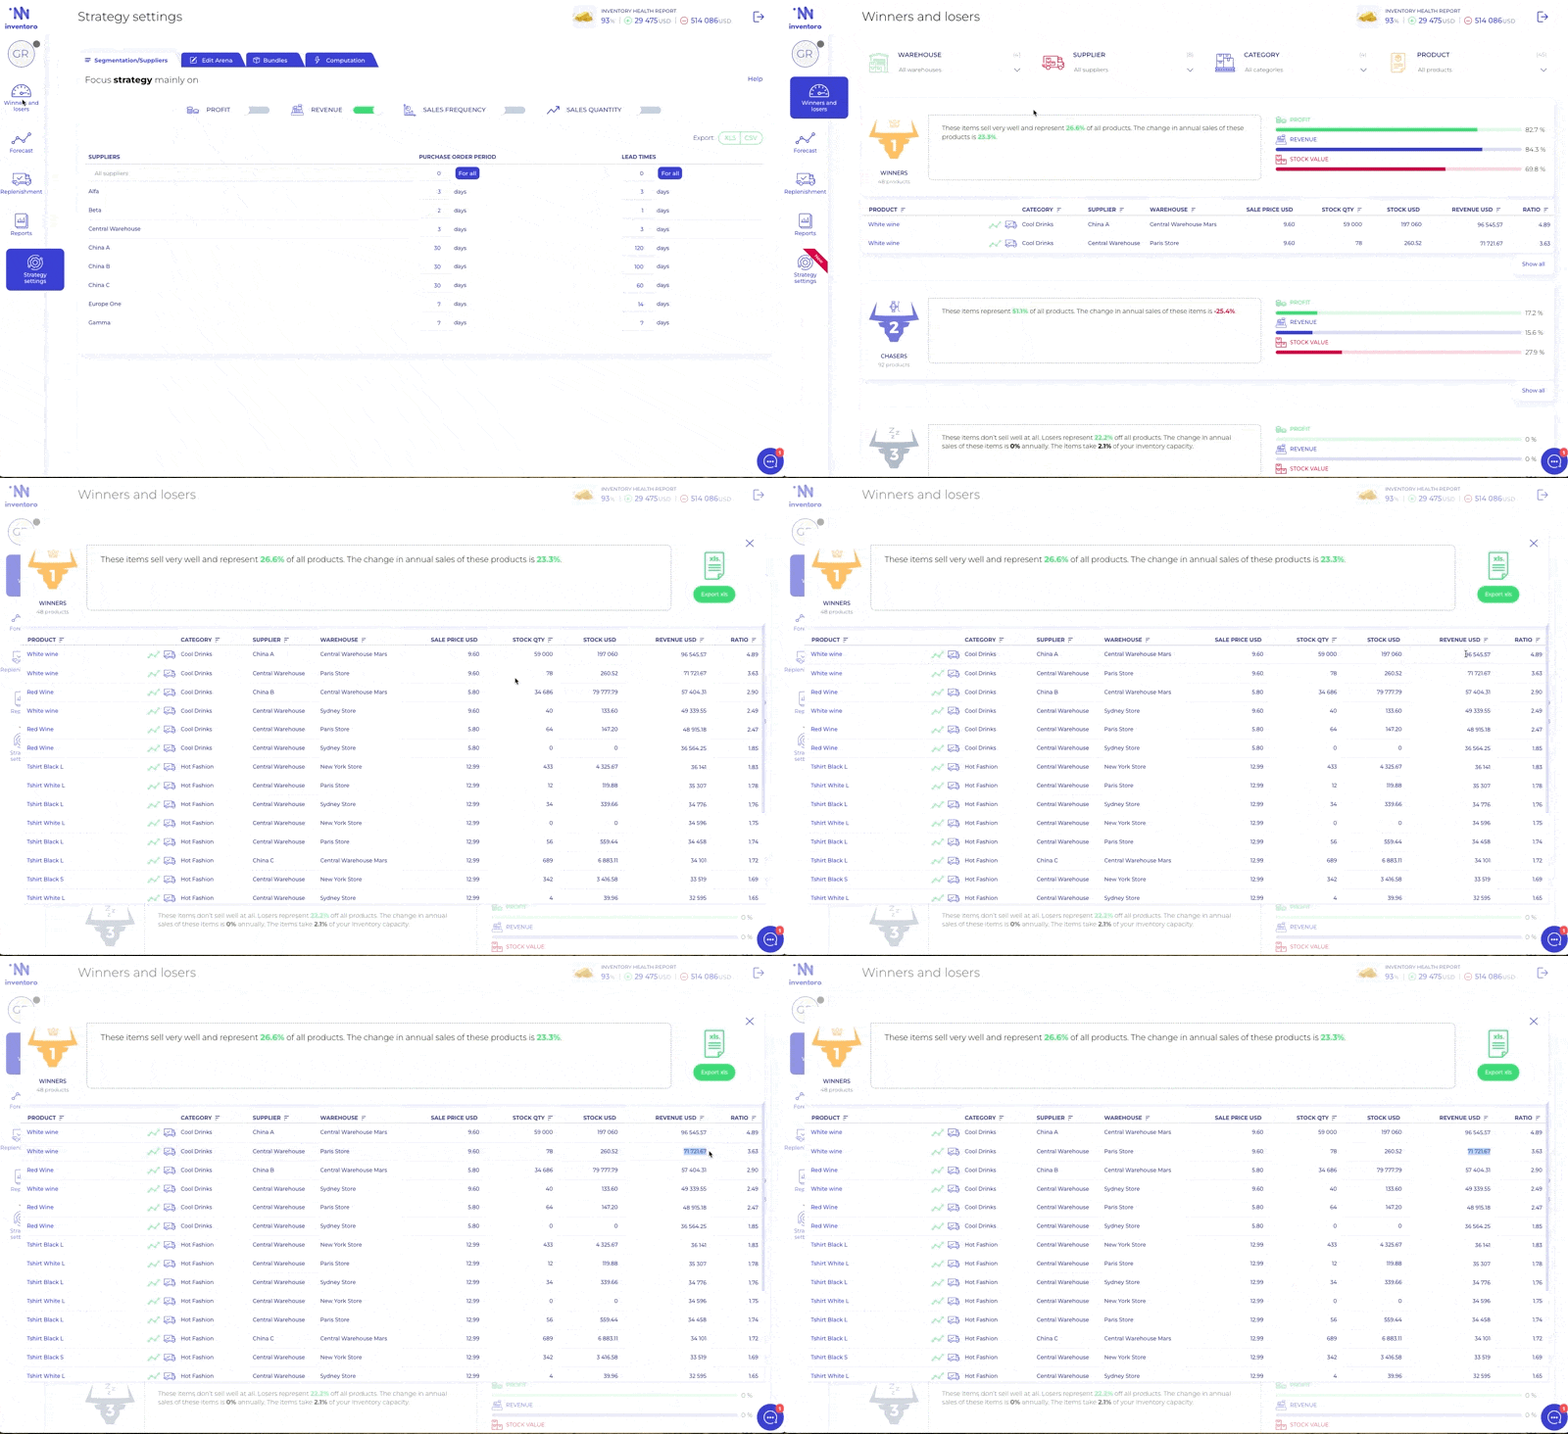
You can also pick a couple of your well-selling SKUs, just use Winners&Losers to pick for example first 5 best-selling items using the analogical process mentioned above. Just click on the graph icon next to the name of the product to see the individual SKU forecast.
On-hand inventory check
This check is to see if we see your inventory levels correctly. You can pick a couple of best-selling items in Winners&Losers again and check if the inventory on hand says the same number as you see in your original system. (see gif bellow)
Minor differences can be ok, big differences are a problem. Contact us if you face this issue.
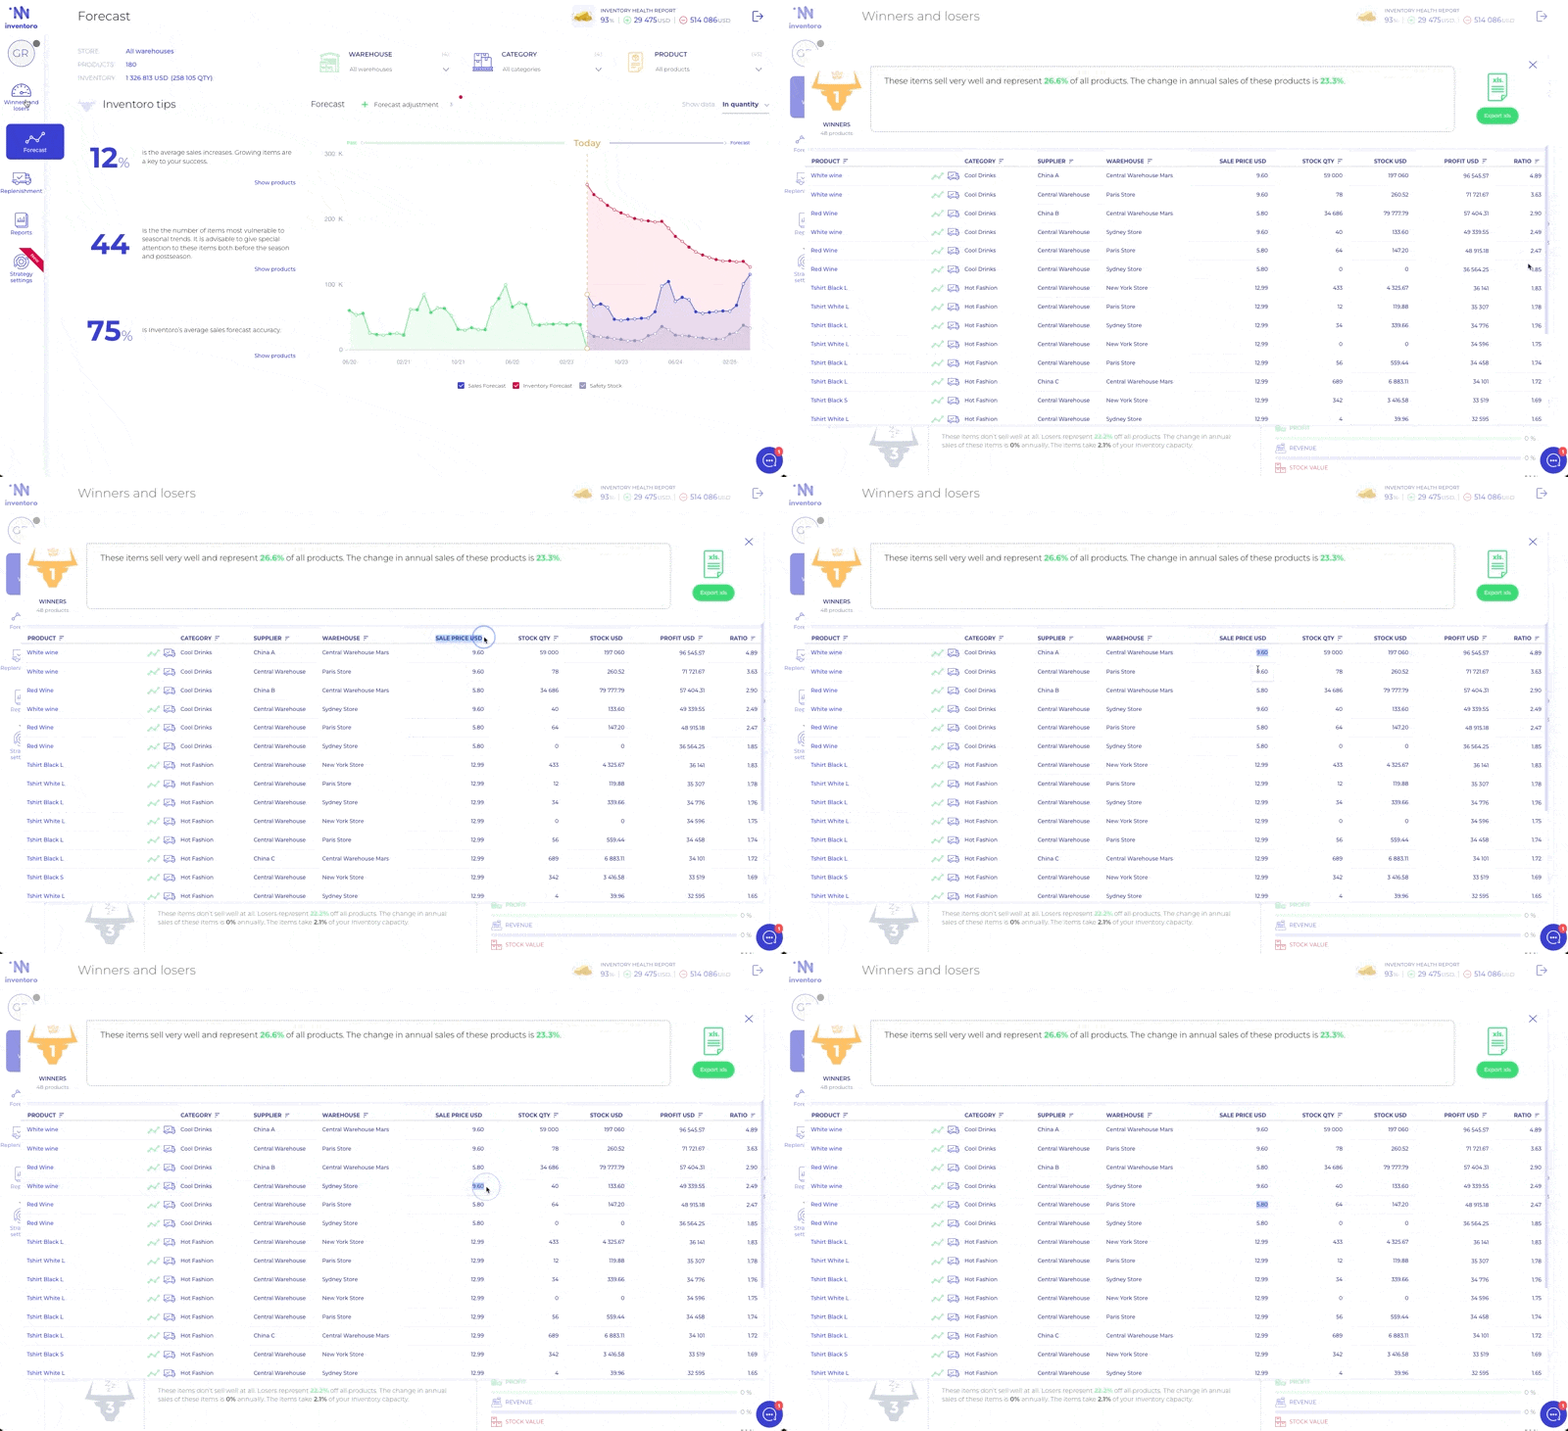
Sale and purchase prices check
This is also an important step. Inventoro primarily calculates forecasts in quantity and then applies the sale price for the calculation of future revenue.
Again, both of these are without TAX, so please remember that when evaluating the results.
Note: some systems don’t even offer the purchase price. In which case it will not appear. No problem, we can add them manually. A quick check of proper sale prices is shown below in the gif.
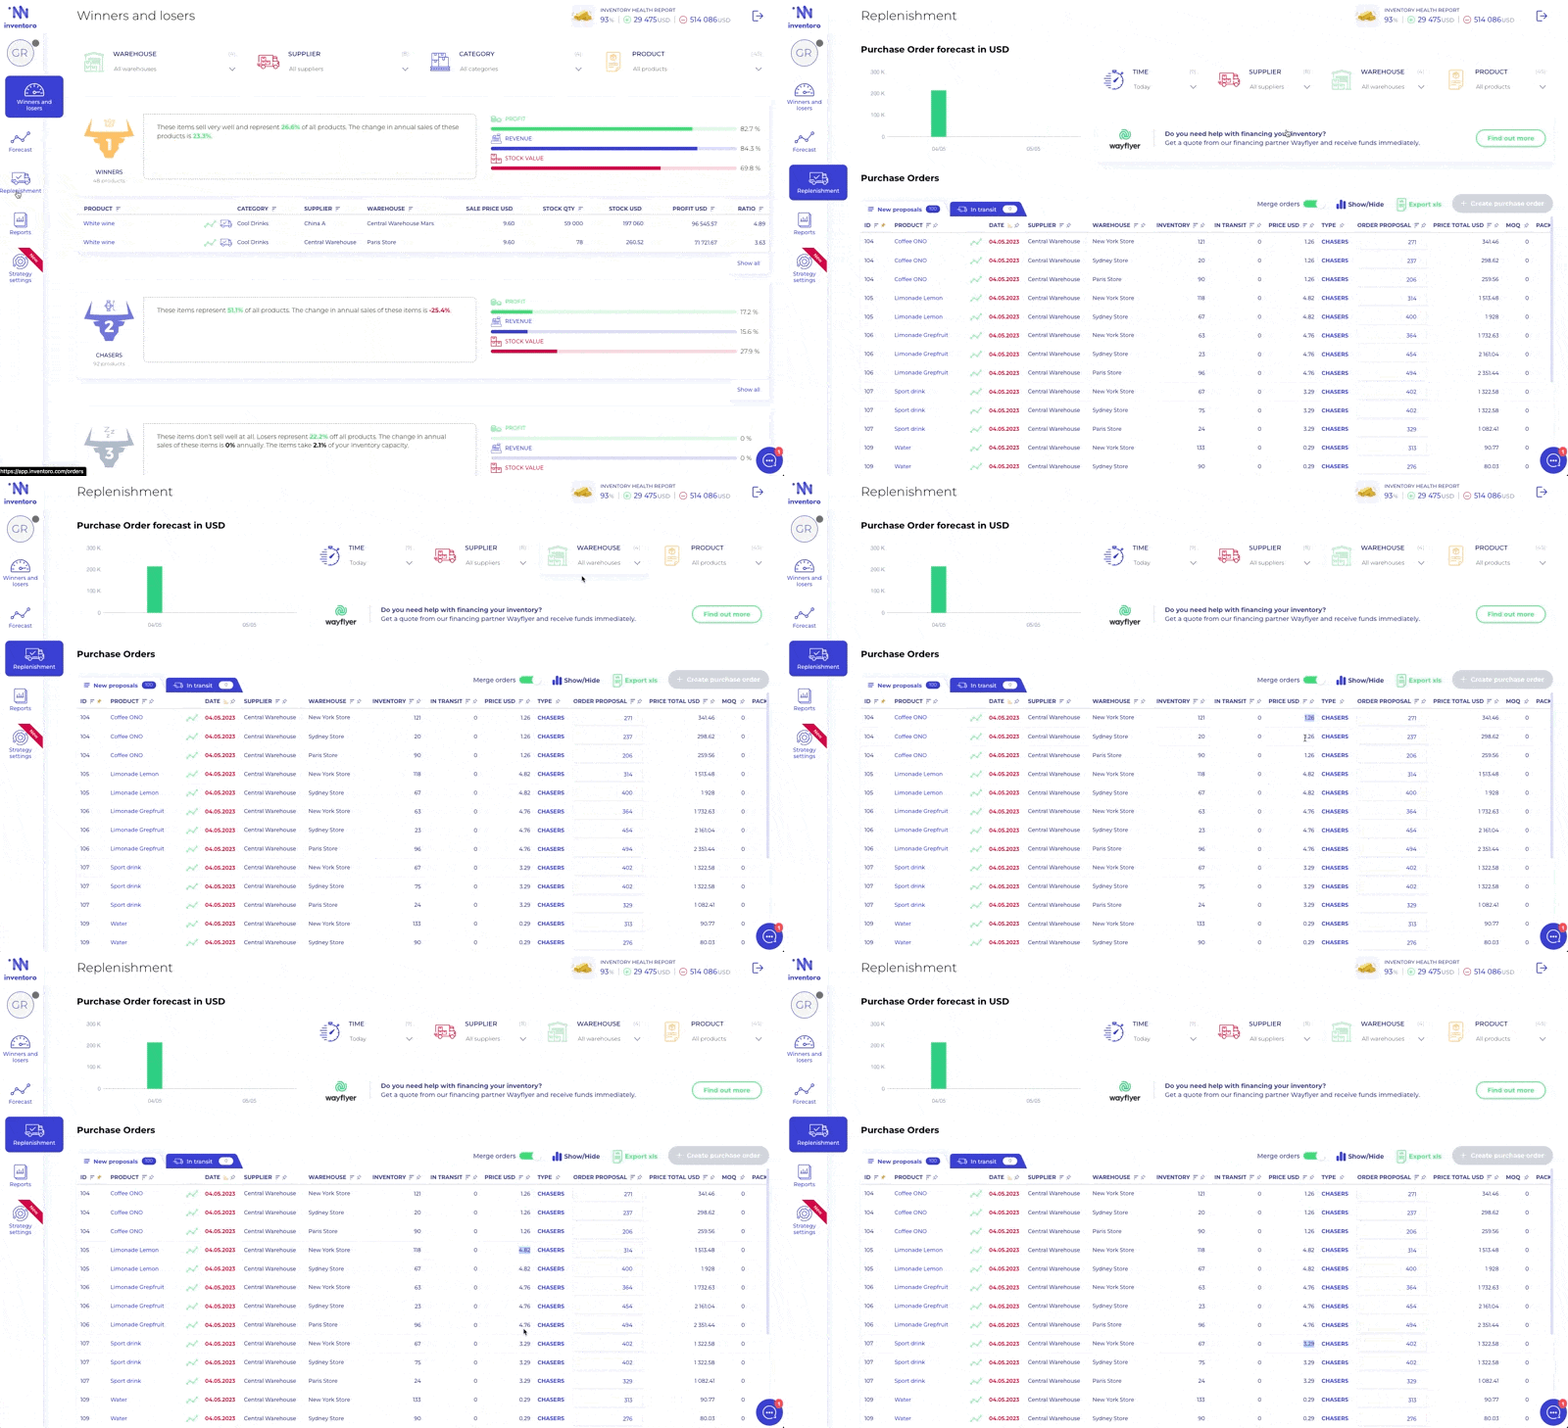
And now to check purchase prices
Step #2: Product Segmentation
In this step, you will pick the right KPI for your organization. You choose what is essential for your company at this time, and that will have an effect on how we calculate Winners and Losers. Inventoro will automatically divide your portfolio into:
- Winners = the most import part of your items
- Chasers = long tail, still selling but not so good as Winners
- Losers = dead stock, no one is buying this stuff
- New products = once we have a date of listing, Inventoro will automatically detect your new products.
Setting your strategy either to profit, revenue, sales frequency, or sales quantity will define, if Winners are the most profitable items, or items which create the highest revenue, etc.
We highly recommend you pick Sales frequency at the start, which is the most customer-driven KPI you can pick. This simulates the same point of view of your items as your customers have.
Once you will pick the new strategy for Winners&Losers, you have to wait overnight for the next calculation in order to see the effect. Then you can check if you will see the right items in the Winners etc. based on the real segmentation, see below.
After this step, Inventoro knows what is the priority and what is not. You can always change your strategy as you progress, but we recommend not to do it more often than once or twice a year.
Step #3: Supplier’s lead times and periods
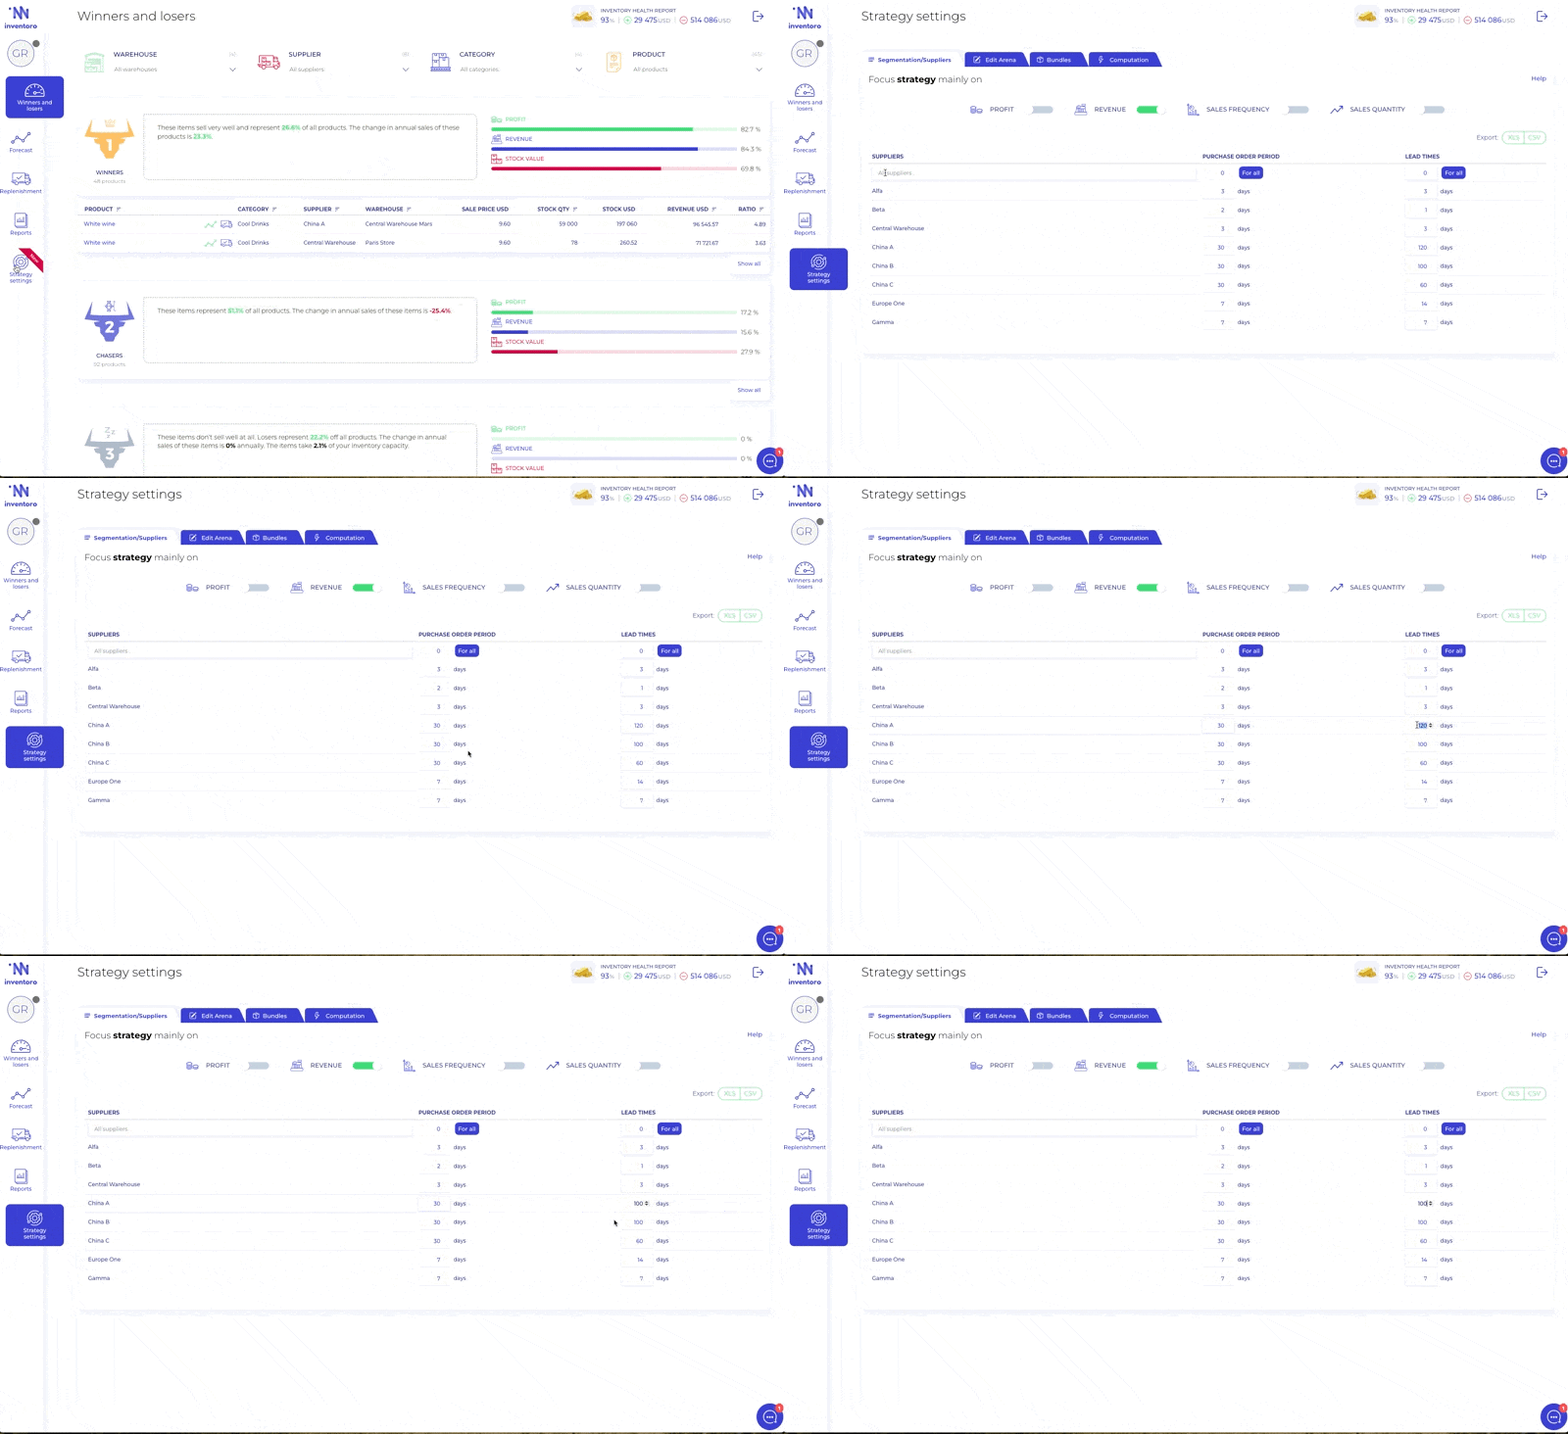
Inventoro can automatically calculate the optimum purchase order recommendations for every SKU and supplier in your portfolio. In order to be precise, Inventoro needs to know proper lead times, which is the interval needed to deliver purchase orders from your supplier. The second parameter you should set is Purchase order period. You can understand this parameter as frequency of purchasing, or sometimes as Days of stock after delivery. In other words, how long do you want your inventory to last until you make the next purchase order. This is in many ways associated with transportation costs. If you order from around the corner, then you can order every week no problem. But if you order a container from Asia, you probably want to do that once a month or once a quarter even.
Special hints:If you don’t see a supplier you use, then jump to the Edit Arena to create one. Simply filter associated products, assign a new supplier to those products, and come back here to make the setting.You can also use the Edit Arena to set lead times and purchase order periods on a SKU level, if it, for any reason, differs from the supplier settings.
Step #4: Product cleaning and constraints settings
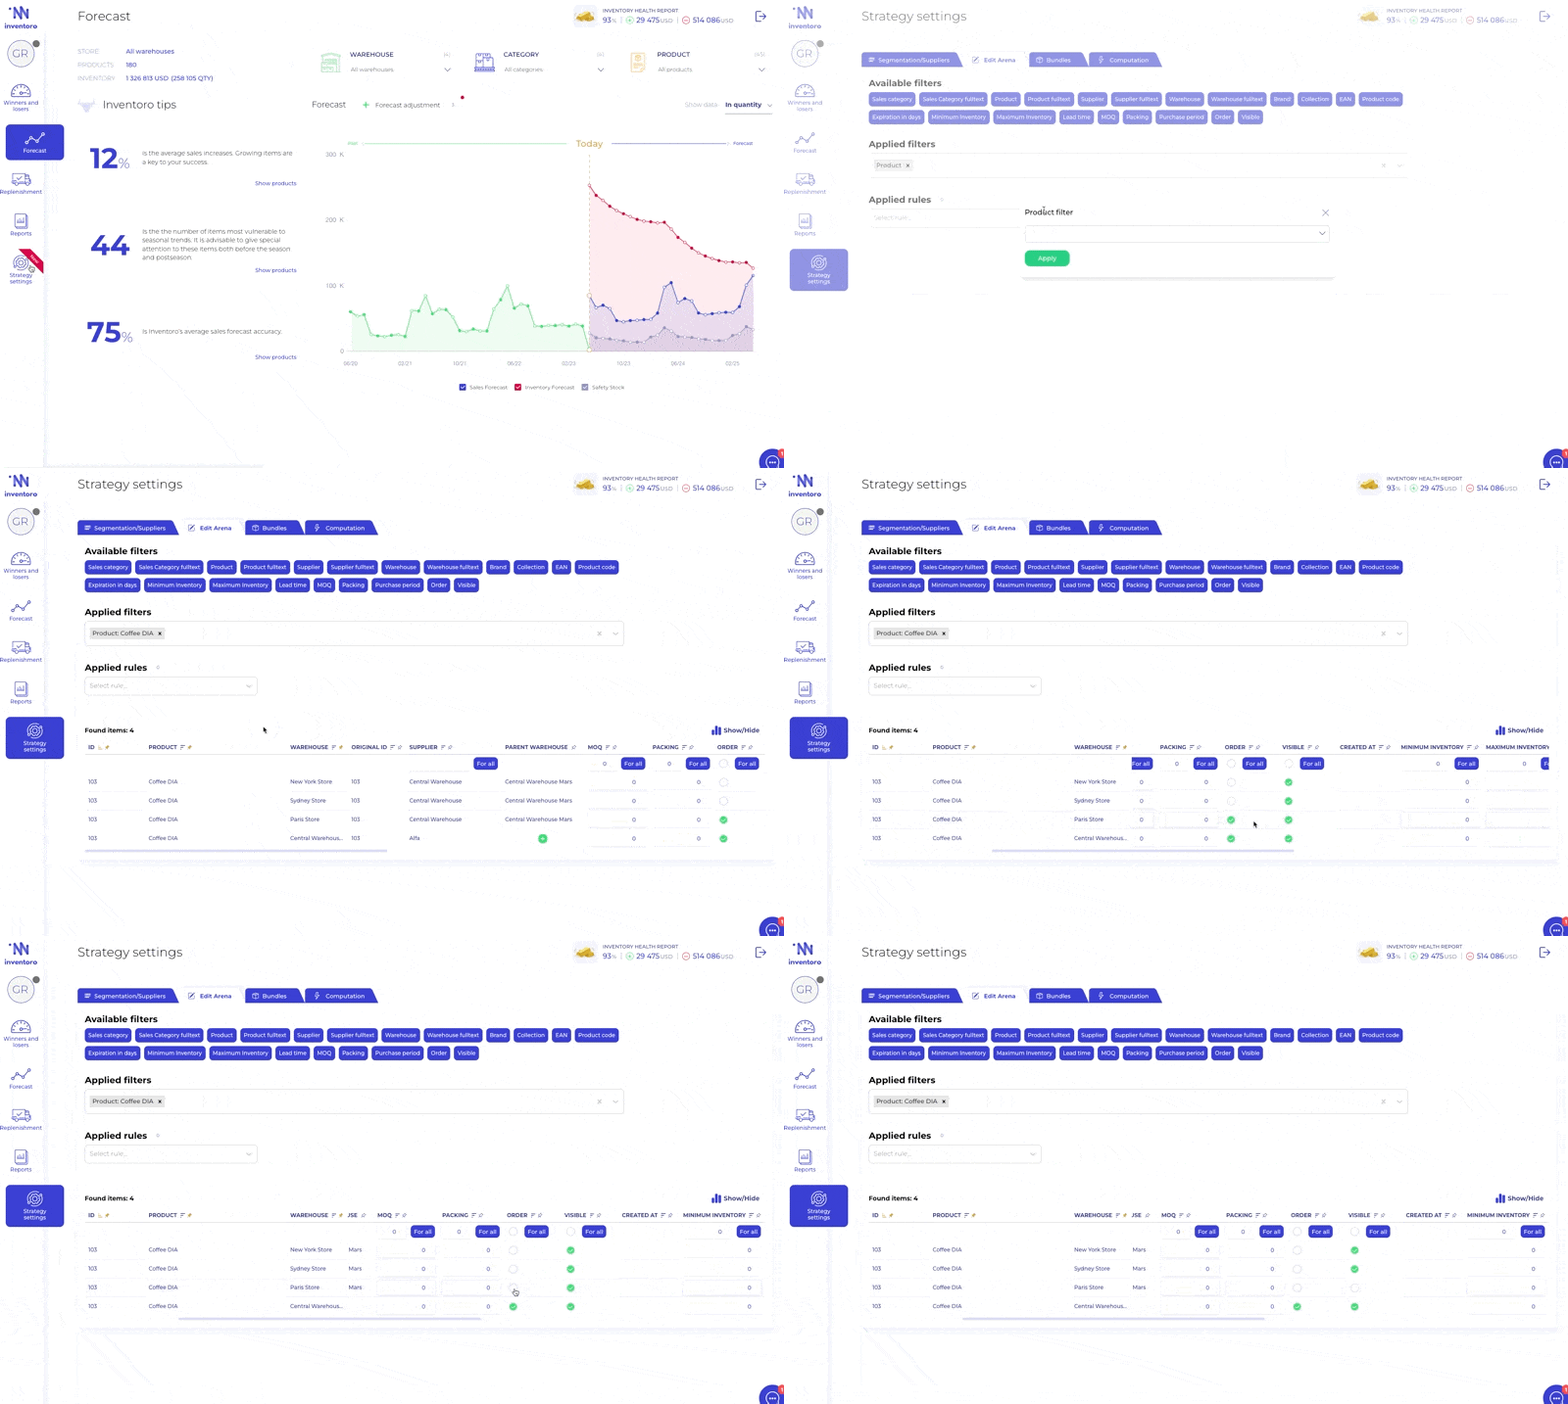
In this step, you will check if Inventoro respects the active and inactive parts of your portfolio. We always try to automate this and import this attribute from your original system. If we don’t have this information, you should mark these items manually in the Edit arena (see below).
In the edit arena, you first filter the products you wish to edit. And then you make adjustments on the products in the list of items, that appear.
Once you have filtered the products, you can exclude them from ordering (uncheck Order) or you can exclude them completely from Inventoro by unchecking them in the column Visible.
Important: Zero orders lead to zero sales. If you uncheck an item from “order”, we will not replenish that item and the system will think that you are discontinuing sales as no orders are planned. Eventually, once you run out, we will forecast zero sales on that item.
But there are more things you can edit in the Edit Arena the same way. These are associated with business logic and constraints of purchase orders.
The most significant thing is to set the right MOQ (minimum order quantity) and Packing which is used as a multiple of pieces for purchasing. You can also set minimum or maximum inventory if you need. We have support for expirations in days after delivery to your warehouse, and last but not least you can set weight in kilograms and volume in cubic meters. For new products, you can set predecessors.
Step #5: Bundles
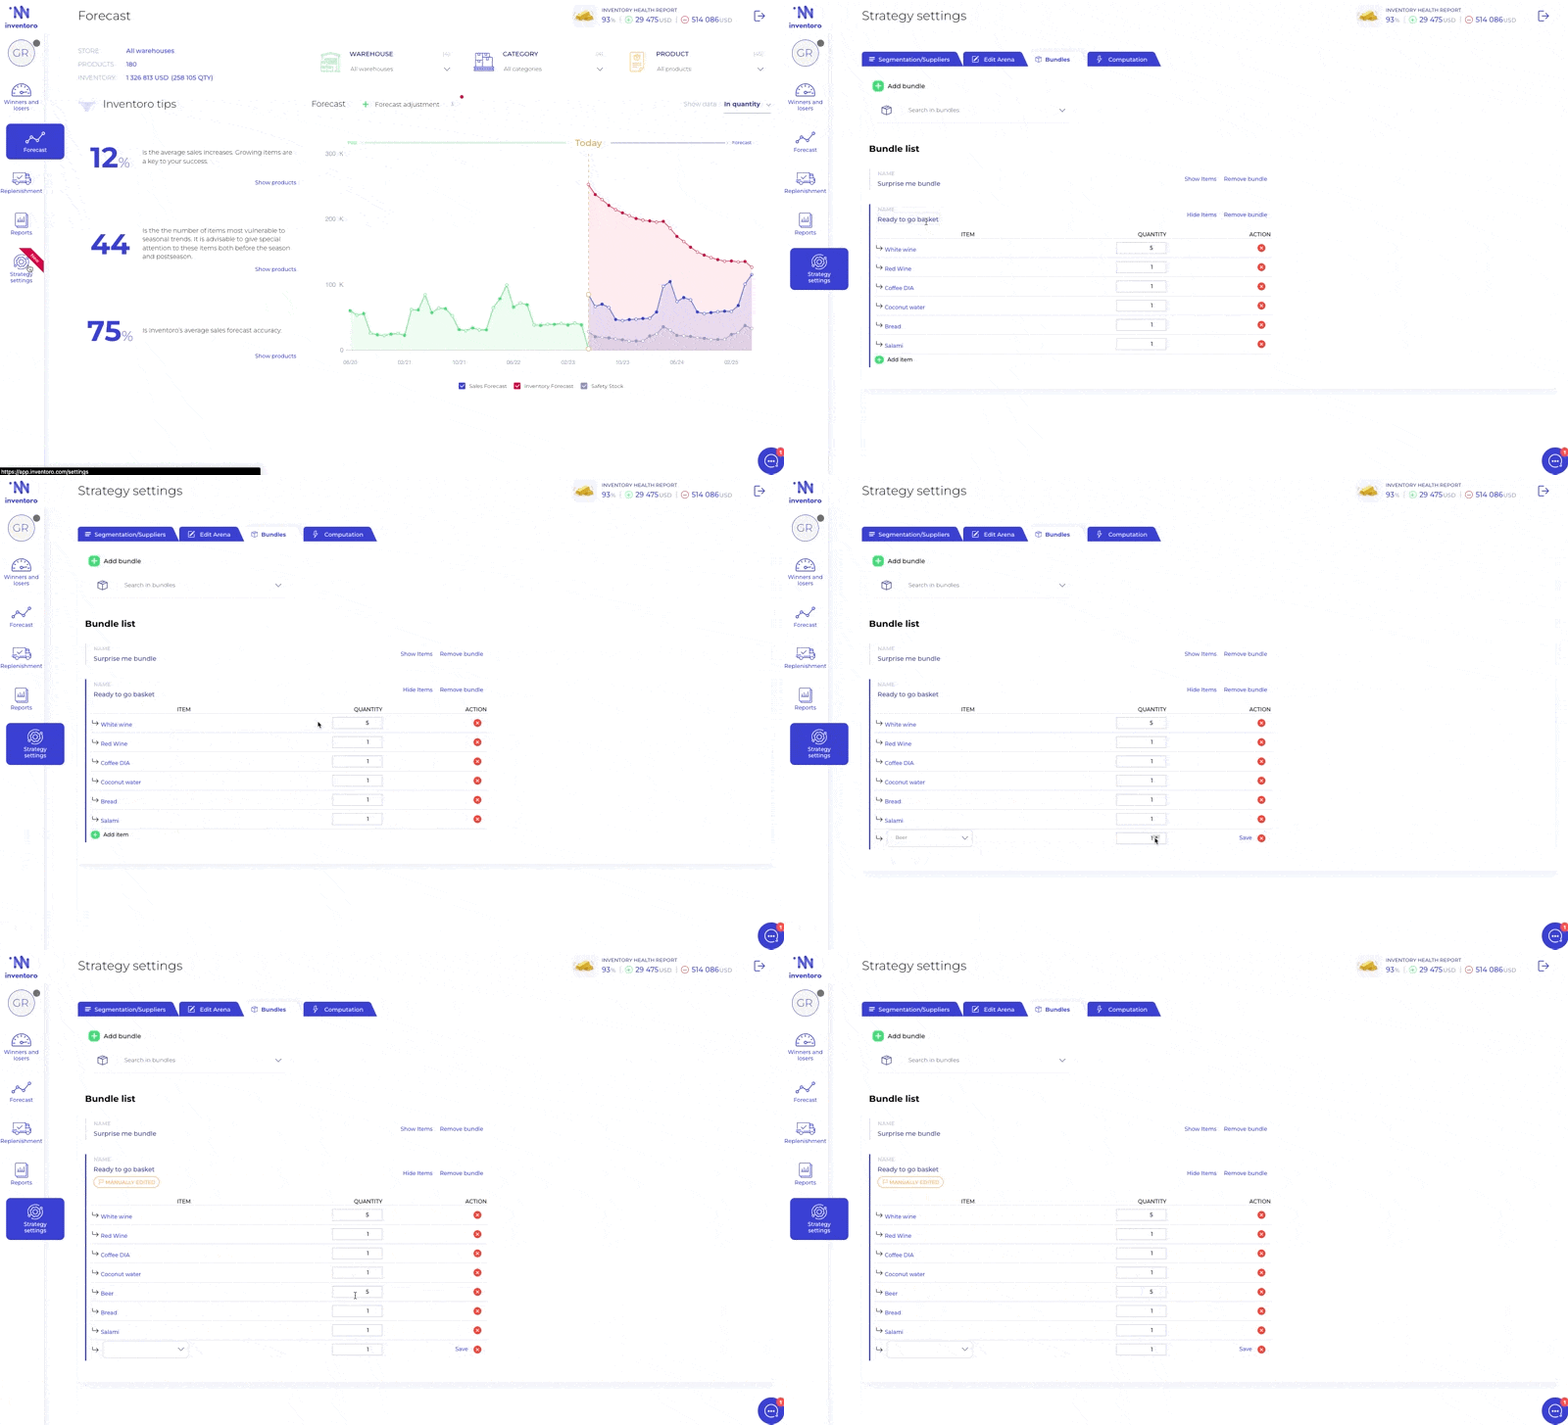
In the case that you are using bundles to sell a bunch of items to your customers as a set, you can set these in the Bundles section of Settings. For example, use this section to set up, the “Beginner set” or “First child in the house set”, which will include all items needed if you are expecting your first child. In this section, you can bundle items together so that we treat them proportionally in the Forecast as well as Replenishment.
We use bundles for more use cases as well. They can be applied to sets, or even as Bills of materials (BOMs) for production. All of these principles apply the same logic and can be set up over here.
From many systems, Inventoro automatically imports bundles, sets, or kits. These are the same. So start by checking if we took bundles from your original data source or not.
If you don’t see your bundles, you can create them manually. See the gif below on how that is done.
Inventoro will automatically calculate the sales forecast for the bundle and then calculate what is needed for every item based on the quantity set in the bundle.
After you set up your bundles, wait overnight to see the effects. But generally what will happen is that:
- We will forecast bundle sales, as your end customers buy them
- We will forecast the individual products as well if they are also sold separately
- We will replenish only the individual items, where we will recommend replenishing enough to satisfy future sales of the individual items as well as the items with the bundles together.
Likewise, we also support the so-called virtual bundles, these need to be set up by us in the back end. Contact us if you need virtual bundles.
